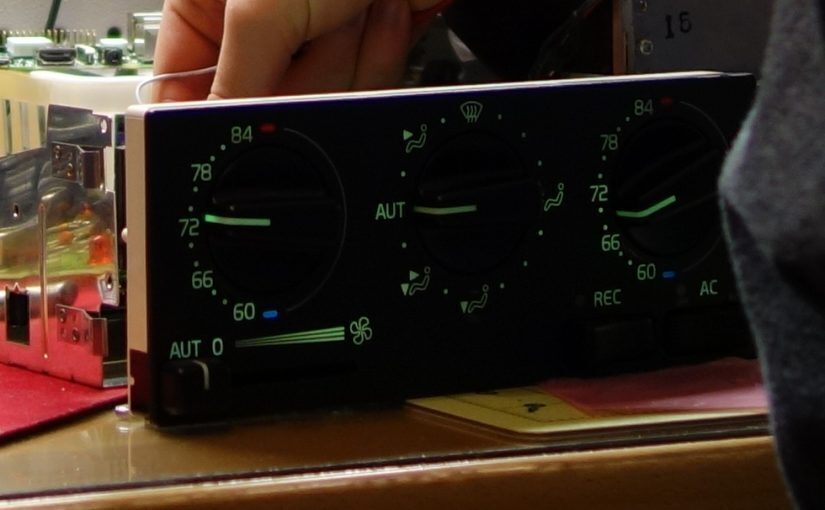
If you own a Volvo 850, sooner or later the bulbs in your Electric Climate Control unit will fail. This is very common as Incandescent bulbs are more susceptible to failure than LEDs; the filament can break from vibration or age. This tutorial will cover how to remove your ECC unit, how to replace the bulbs, and how to test your ECC unit on the bench.
Time
Approx. 30 minutes
Parts & Tools
3x Warm White 74 LEDs (warm matches the look of the bulbs)
1x Phillips Screw Driver
1x 12 Volt Power Source with alligator clips (for bench testing the LEDs)
Step 1: Remove Climate Control unit
To remove the climate control unit the radio must be removed. First pop out the 2 tabs on each side.
MAKE SURE YOU CAN FIND YOUR RADIO CODE BEFORE DISCONNECTING THE POWER TO YOUR RADIO OR IT WILL NOT WORK
Then pull the radio out and disconnect the connectors plugged into the rear.
Pull the climate control unit out (It just slides out) the front and disconnect the 3 connectors on the rear.
Step 2: Expose the main circuit board
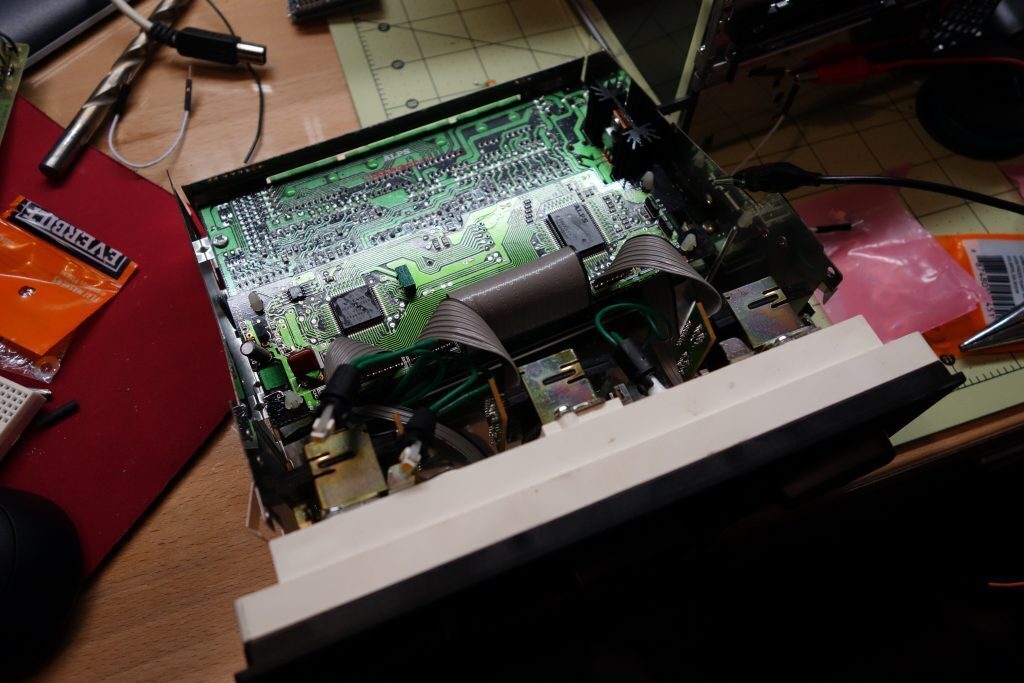
Remove all of the screws on the case and pull up to expose the main circuit board.
Step 3: Find test points
An LED or Light Emitting Diode only allows current to flow in one direction. If you hook an LED in reverse it will not light.
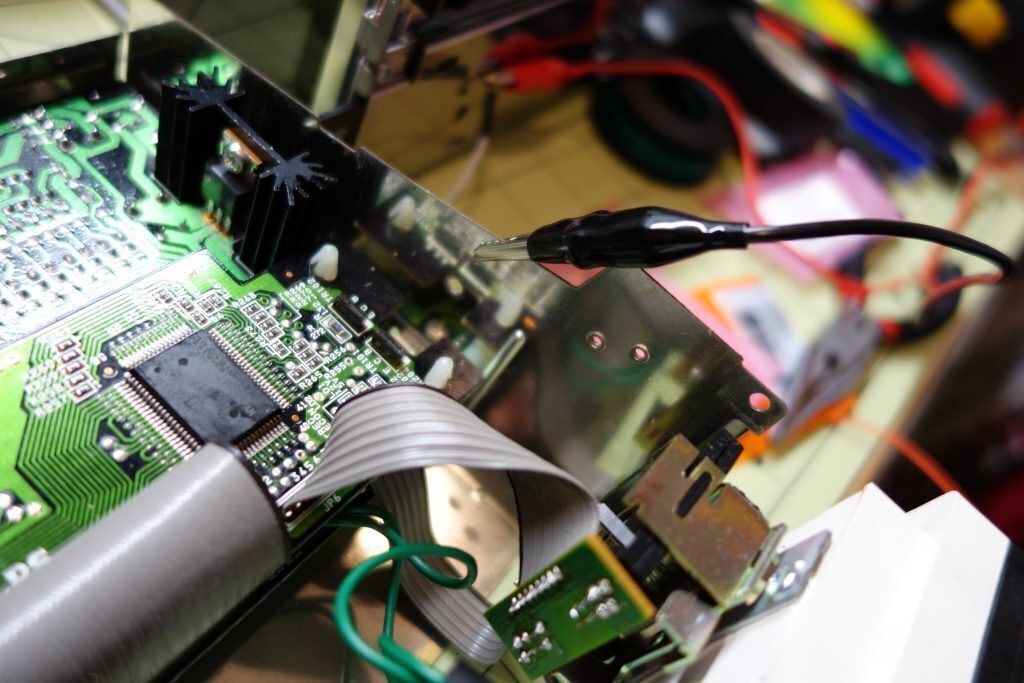
In order to test the LEDs to verify that they are plugged in correctly we will need to power the climate control as if it was in the car. We can assume the case is grounded, but we need to find the 12 Volt connection point to power the LEDs.

I was able to locate a test point on the board where the night illumination signal comes in from the connector on the rear by tracing a schematic for the wiring to the climate control unit. I suggest marking the pin after you have found it for sure by scoring the solder mask slightly with a paper clip.
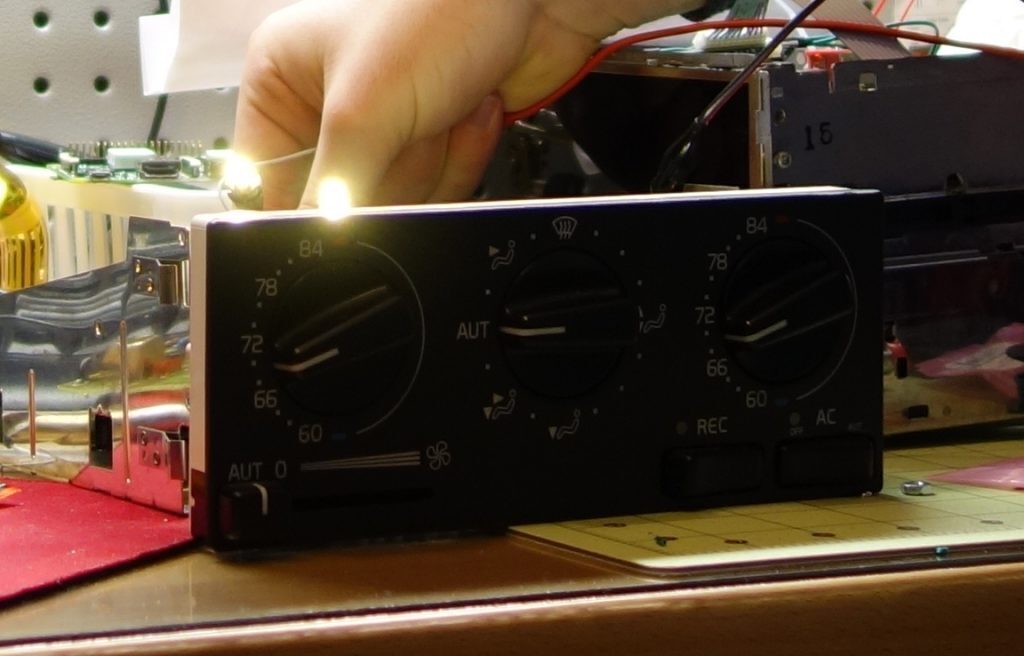
Step 4: Test the lights
Verify that the negative end of the power supply is connected to the case. Then power up the power supply and set it to 12 Volts DC. Tap the positive end to the test point and the bulbs should illuminate.
BE VERY CAREFUL NOT TO TOUCH THE OTHER PINS. AND TO ONLY USE 12 VOLTS NOTHING MORE. YOU CAN DESTROY YOUR CLIMATE CONTROL UNIT
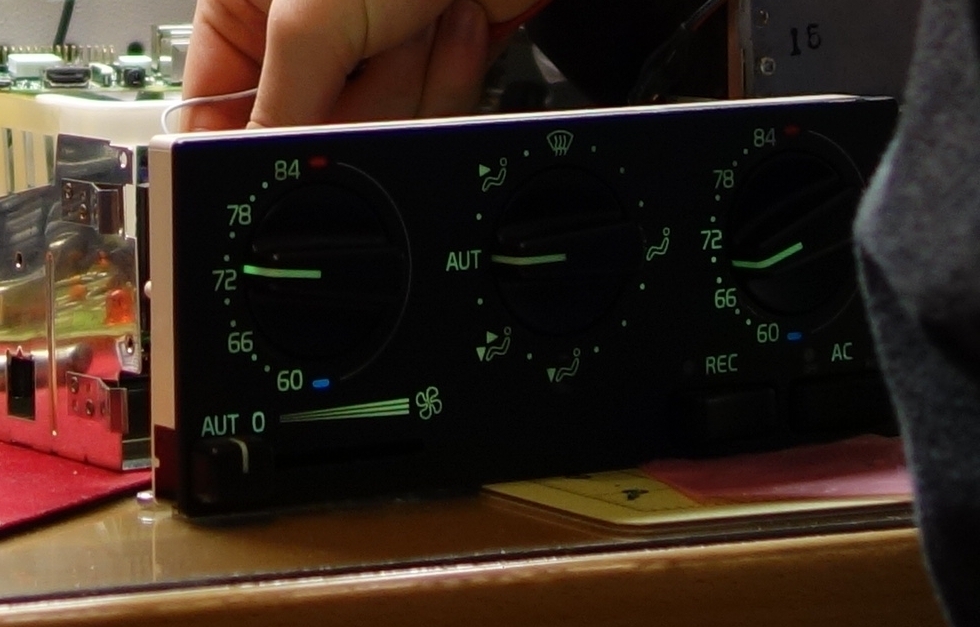
Step 5: Swap out one bulb at a time with and LED and test
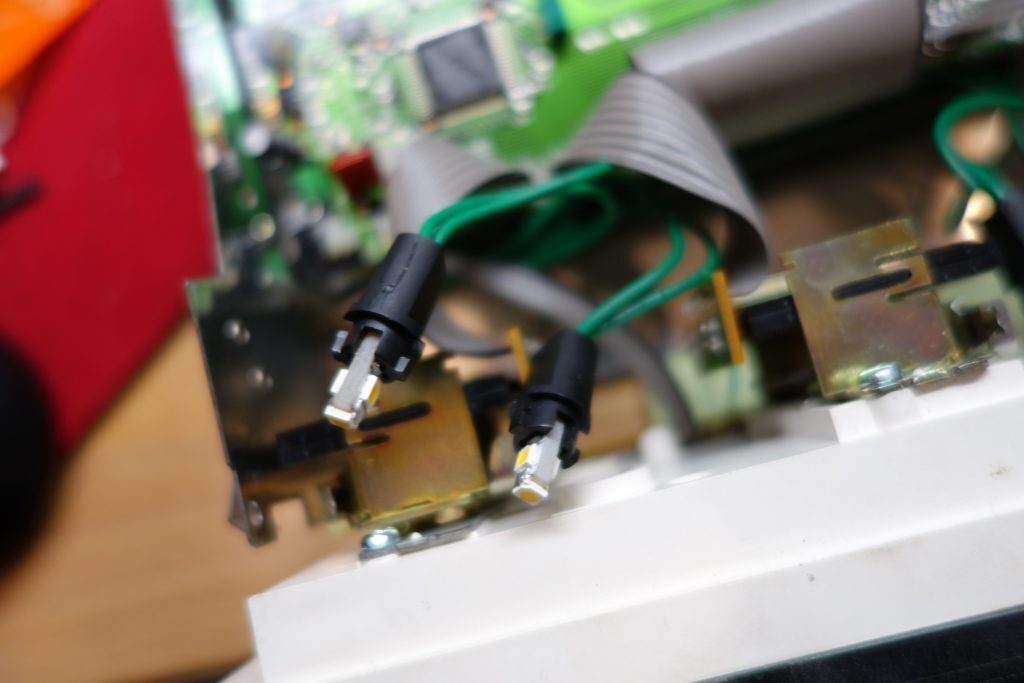
I prefer to start with the failed bulb first.
Twist the bulb holder and pull out. Replace the bulb with an LED, and if it does not illuminate, flip the bulb 180 degrees. Make sure the new LEDs are contacting the pins of the bulb holder well.
Repeat this process until all bulbs are changed.
Step 6: Reassemble
Once everything is working correctly you can reassemble and replace the unit back into the car!